You wanna build that great side project you have been thinking about, but you have never built a mobile app before, fear not my friend, bear with me through this article and you will be amazed about how fast you can take your idea of the ground.
I did write an article in the past about building mobile apps with ember and Cordova, maybe you even read it already, that was a gentle quick off on how to quickly build an app, so I decided to write a new and better version of it.
The Stack
For this article we will be using Ember, Cordova and Rails, you might be wondering why, the reason in simple, because that is the fastest stack to build an mobile app I’ve tried in the past years.
I’ve done native, react, ionic, I have tried it all, but this combo still is the fastest one to develop in. Keep in mind that I’m a believer of the “move fast and break things” mantra, and that the main goal here is to spin off an idea out of the ground, not necessarily achieve the best performance. This stack will put you in that sweet spot of building something fast, using tech that you might already know, and avoid boilerplate code.
Installing
Start by installing the tools we will use, I won’t spent much time explaining this, there is a bunch of great guides around.
- Postgres
- Ember.js -
npm install -g ember-cli - Cordova -
npm install -g cordova - Corber -
npm install -g corber - Rails (Assuming you have Ruby installed) -
gem install rails
Creating the Application
In this article we will create a product listing app, that will be fed by an Rails API, with a simple CRUD admin.
Let’s start but creating a new ember application and initiating corber
ember new my_freaking_awesome_app
# ...
cd my_freaking_awesome_app
corber init
Corber will guide you through its setup process, letting you choose the platforms you want (iOS, Android, or both).
Now we have a brand new ember app to star to work with, if you want to fully understand ember you can check its guides, but for now we will use two of the ember “features”, routes and a components.
Let’s start by making sure our app shows its awesome name on its first view, go to the file app/templates/application.hbs, remove the {{welcome-page}} and add the proper title before the {{outlet}}:
<h1>Freaking Awesome App</h1>
{{outlet}}
Creating a Route
Now let’s create an route for our app, for the sake of this article lets say our awesome app is a shop list, with a list of products we need to buy on our next run to the groceries store, so lets start by creating an route to show the products we need.
ember generate route products
Open the new generated template at app/templates/products.hbs and add a proper title to it:
<h2>Products</h2>
{{outlet}}
Let’s make this our root route, so update the router.js to define that:
import EmberRouter from '@ember/routing/router';
import config from './config/environment';

const Router = EmberRouter.extend({
  location: config.locationType,
  rootURL: config.rootURL
});

Router.map(function() {
  this.route('products', { path: '/' }); // <- This is it!
});

export default Router;
Running our App
Let’s first run our app on the browser so we can check how it’s looking so far before compiling it to our phones. To do it just run:
ember serve
Now you should be able to access http://localhost:4200 on your favorite browser and see how it’s looking so far.
Create a Component
Now let’s create our first component, that will hold our product list:
ember generate component product-list
We can open our component template at app/templates/components/product-list.hbs
Let’s add a loop to show all of our products. Replace the content of the template with:
<ul>
  {{#each products as |product|}}
    <li>
      {{product.name}}
    </li>
  {{/each}}
</ul>
Now lets go back to our template for the products route at app/templates/products.hbs and load our new product list component in there replacing the {{outlet}} with:
{{product-list products=model}}
Now we need to define the model, on the route itself, and feed that with our Rails API.
Create Product Model
Let’s use the ember generator to create the Product model on ember’s side.
ember generate model product name:string
With our model created, now we can set it to find all products on the product router we created before, just create a new model function at app/routes/products.js like bellow:
import Route from '@ember/routing/route';

export default Route.extend({
  // Declare the function bellow, its simply getting all products (that will come from rails)
  model() {
    return this.store.findAll('product');
  }
});
Integrating Ember with Rails
Now we need to set an adapter that will properly tell our ember app to call the rails app whenever looking for products.
Let’s start by creating an Adapter, that will inherit one of the existing ember adapters.
Create a new folder adapters under app and a file application.js inside of it with the following content
import DS from 'ember-data';

export default DS.RESTAdapter.extend({
  host: 'https://ember-app-article.herokuapp.com/', // Address of our rails app, link to the rails app
  buildURL: function(record, suffix) { // hack to mount the url correctly to our case
    var s = this._super(record, suffix);
    return s + ".json";
  }
});
Create Rails App
Disclaimer: In case you want to skip this, you can use an application I already created for it online at https://ember-app-article.herokuapp.com/
This is meant to be pretty straightforward, you can learn more about rails on its website and on other great tutorials, I’ll assume you have installed all you need, so lets just open a new terminal and create a new application:
rails new product_list_admin -d postgresql
# ...
cd product_list_admin
Now let’s create a scaffold for our products by using rails generators and running migrations:
rails g scaffold product name:string
rake db:create
rake db:migrate
Now you can start your rails application by running:
rails server
And you will be able to see our new products management interface at http://localhost:3000/products. Through this interface you are able to add new products to your list.
Now we need to make sure the Rails app is ready to accept calls from the ember app, so lets add rack-cors to our project and enable it to accept calls from our ember app.
Enabling Cors
Disclaimer: This would allow your app to receive requests from any other address and isn’t the safest option, recommend you to understand CORS better before using this in production.
Add rack-cors to your Gemfile:
gem 'rack-cors'
Update your config/application.rb to include the following:
 config.middleware.insert_before 0, Rack::Cors do
   allow do
     origins '*'
     resource '*', :headers => :any, :methods => [:get, :post, :options]
   end
 end
Updating Products Controller
Because ember expects us to send the products in a specific format we will need to do a quick update on our ProductsController to make sure we return a root node on the JSON response.
Just update your index function on the ProductsController to the following:
def index
  @products = Product.all
  respond_to do |format|
    format.html { render :index }
    format.json { render json: {products: @products} }
  end
end
This just makes sure whenever returning the JSON version of the index route it will have a root node product.
Deploy Rails App
I won’t spend much time explaining the ins and outs of deploying a rails app, but I do recommend you to deploy it in heroku for now, just for the sake of simplicity. Also make sure to update the ember adapter we declared before with the url for your deployed rails app.
Compile our app
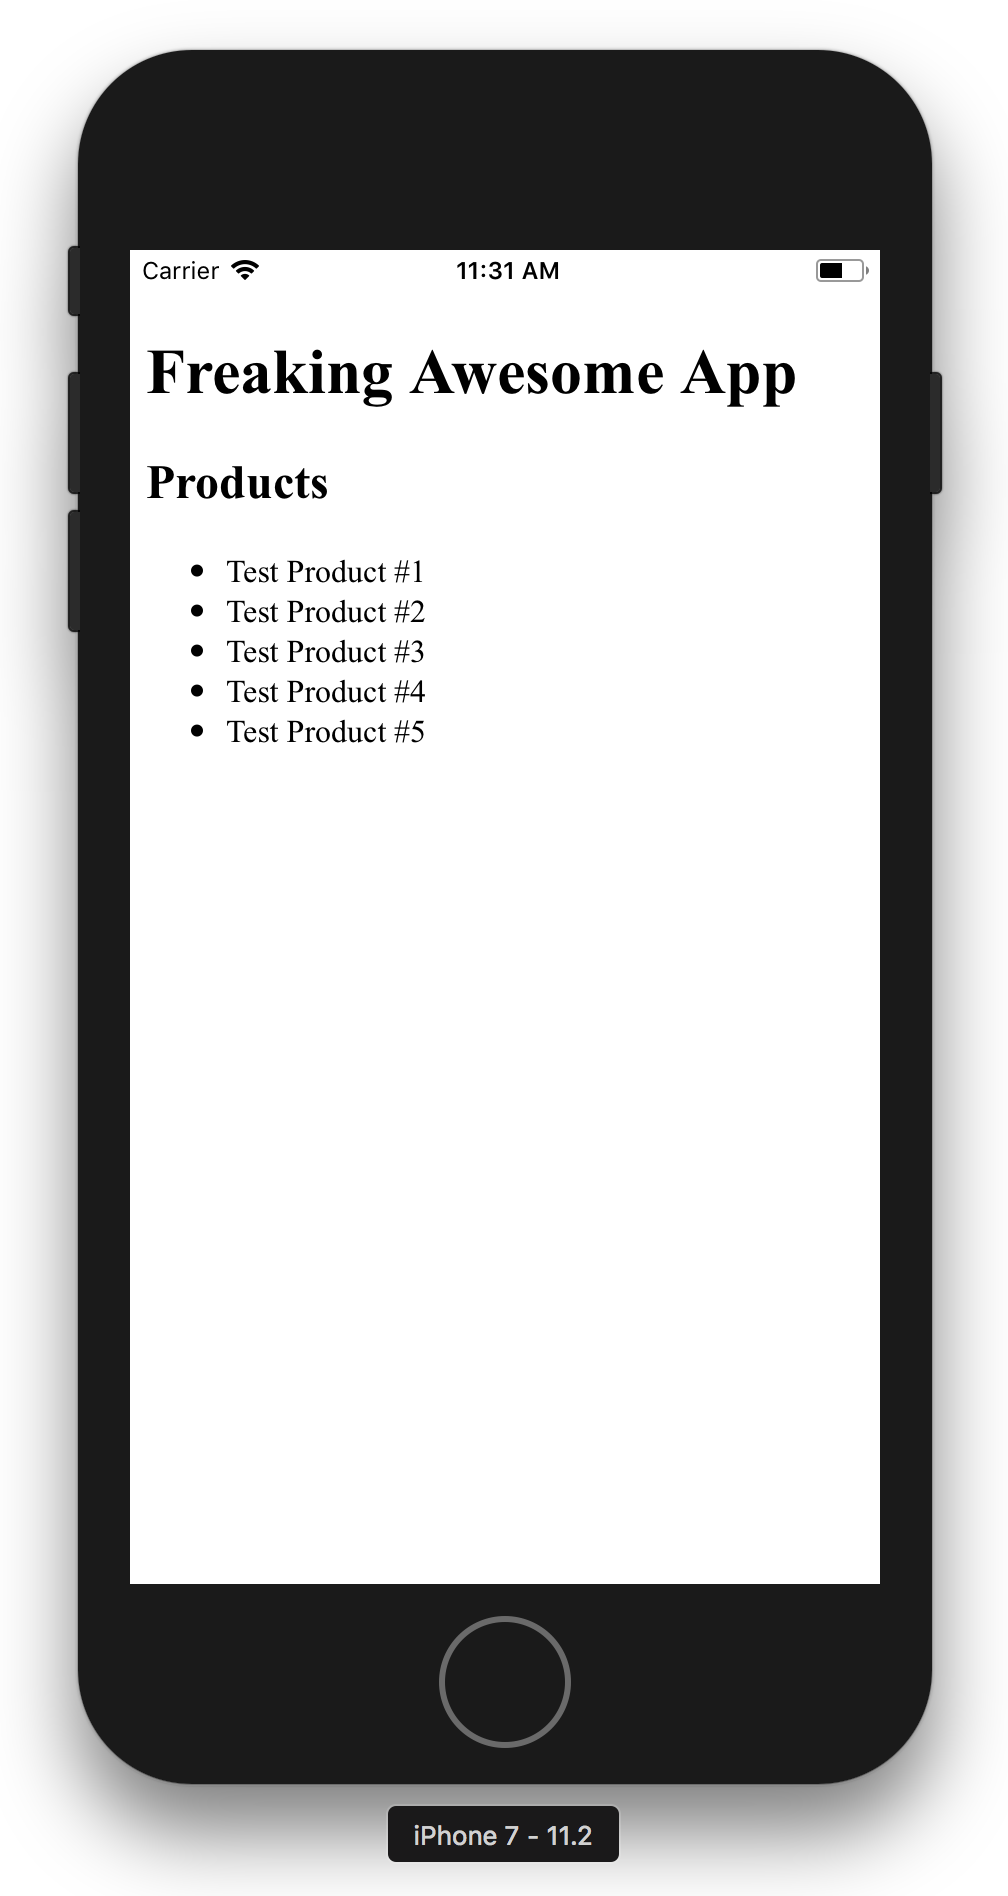
If you run your ember app and rails app you will now notice your products will appear on the ember app, and you can add and edit them over on your rails app.
Let’s compile and test our app on a simulator. Depending on the platform you are building for (android or iOS) you will need to install different stuff, I won’t go over it all, but basically you will need Android Studio or Xcode (only Mac), I’ll assume you have installed it already, so go into your ember project folder you can run.
corber build --environment=production --platform=ios
Once that is compiled you can then open the project on Andoird Studio or Xcode by running:
corber open
From there you can build that on a simulator or on your on phone, this is how our awesome app should look like:
Wrapping up
This was supposed to be more of a hands on approach to quickly building mobile apps using overall web knowledge, I invite you to understand how Ember and Rails works better, so you can start to take more advantage of these framework as you build your apps.
If you liked this article please let me know over twitter, my handle is joaomdmoura, and I’m always eager o engage in nice conversations.